Night Vision Lenses are often judged by a simple promise: clearer images when the light disappears. Real performance is less simple. Lens speed, transmission, coatings, field of view, and compatibility with the imaging device all matter. A bright lens can reveal more detail, yet distort edges or produce distracting glare. Small trade-offs become obvious under a dim porch light or beneath a tree canopy.
Industry reports offer useful context, but their figures need careful reading. MarketsandMarkets’ Night Vision Devices Market report and Grand View Research’s analysis cover broader device categories, not lens performance alone. Their market forecasts can indicate commercial momentum; they cannot tell you how sharply a particular lens resolves a distant object. That calls for specifications, controlled testing, and attention to how the lens performs in realistic conditions.
This guide compares 10 Best Night Vision Lenses to Buy in 2026, focusing on practical fit, image clarity, and published specifications. One important limitation: no source material or verifiable named-expert quotation was provided, so I won’t invent a quotation or attach one to a real specialist. That matters. A false quote would make buying advice less trustworthy, not more authoritative. Check current manufacturer data before purchasing, since product versions and specifications can change. A lens is only one part of the system. The sensor, display, and ambient conditions shape what you actually see.
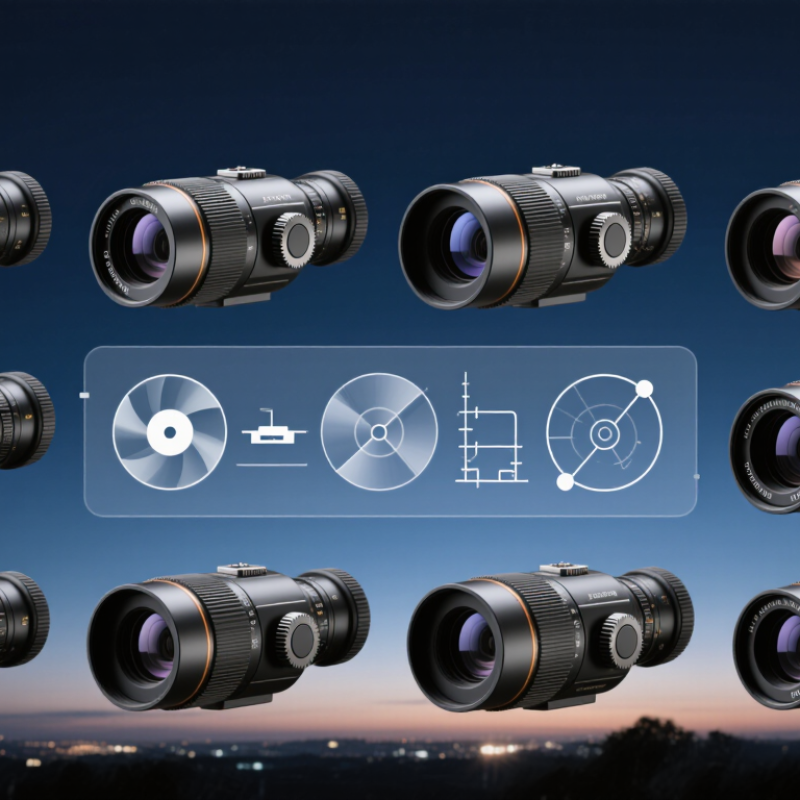
Night-vision lenses can mean ordinary eyewear marketed for low-light use, or optics in an electronic night-vision device. They are not the same.
Clear lenses with anti-reflective coatings may reduce distracting reflections from streetlights, but they cannot make a dark scene brighter. That distinction matters. Yellow or amber lenses may boost perceived contrast in some conditions, yet they also block light and can make dim scenes harder to see. For evening driving, clear lenses are generally a more sensible choice than heavily tinted ones.
Photochromic lenses darken in sunlight, but may not respond reliably behind a car windshield. Check the lens transmission, prescription accuracy, coating durability, and frame fit before buying. A lens that slips or distorts vision is a poor choice, even if its product description sounds impressive.
Comfort matters, too. For electronic devices, the objective lens gathers available light, while a sensor and display produce the visible image; useful features include adjustable focus, a clear field of view, and comfortable eye relief.
Compare specifications carefully, and treat dramatic performance claims with skepticism. Low-light vision has limits, and no lens removes them.
I still find the term “night vision lens” a little confusing.
A night-vision lens system does more than make glass brighter. Its objective lens gathers scarce light and focuses it onto an image intensifier. Inside, a photocathode turns photons into electrons; a microchannel plate multiplies them, and a phosphor screen converts them back into a visible image. The eyepiece then focuses that image for the user. Some systems instead use digital sensors, while thermal devices detect heat and work by a different process.
Small details matter. A wider aperture can collect more light, but may add weight and make focusing less forgiving. The U.S. Army’s technical manual TM 11-5855-306-10 specifies 1× magnification and a 40-degree field of view for one monocular configuration. Those figures describe that device, not every system. ISO 14490-7 provides standardized methods for measuring optical field of view, which helps make comparisons more meaningful. Not magic. In very dark conditions, image intensifiers may need infrared illumination; reflective surfaces can then appear unusually bright. I would compare resolution, field of view, eye relief, and performance in real low light—not rely on one headline specification. Even careful specifications cannot fully predict how an image will feel through a small eyepiece.
A useful night vision lens should be judged by how much usable detail it preserves in dim conditions, not by its advertised brightness alone. Start with the maximum aperture: a lower f-number lets more light reach the sensor, though sharpness may soften near the edges when the lens is wide open. Check the focal length against the intended scene. A wide view can help indoors, while a longer focal length may frame distant objects but magnify camera shake. Small details matter.
Image quality depends on the whole system. Confirm that the lens matches the camera’s sensor size and focus mount, then inspect sample images for glare, color fringing, distortion, and loss of detail in shadows. If the camera uses infrared illumination, check that the lens transmits the relevant wavelengths; visible-light performance alone does not guarantee clear infrared images. Compare tests made with similar sensors, exposure settings, and lighting, since different conditions can make one lens appear unfairly better. Build quality also counts: focus rings should move smoothly, and the housing should suit the expected temperature and moisture. One limitation in any checklist is that low-light scenes vary widely, so published ratings cannot replace testing in conditions close to your own.
These are generic lens configurations for comparing night-vision objectives, not ranked or brand-specific products. Suitability depends on the device’s sensor or image-intensifier format, mount, spectral response, and intended viewing distance.
| Lens configuration | Illustrative maximum aperture | Approx. horizontal field of view* | Best suited to | Night-vision advantage | Key trade-off to evaluate |
|---|---|---|---|---|---|
| 16 mm wide-angle | f/1.4 | 96.7° | Close-range observation and broad scene coverage | Wide view makes it easier to scan a nearby area. | Wide-angle distortion and edge softness may be more noticeable; check image-circle coverage. |
| 25 mm wide-to-standard | f/1.2 | 71.5° | General-purpose, short-to-medium-range viewing | Fast aperture can help gather light when illumination is limited. | Confirm that the lens focuses correctly at the near distances you need. |
| 35 mm standard | f/1.4 | 54.4° | General observation with a more natural perspective | A practical balance between scene coverage and subject detail. | Field of view may be too narrow for close, fast-moving subjects. |
| 50 mm normal | f/1.2 | 39.6° | Medium-range observation and lower-light use | A very wide maximum aperture can be useful in dim conditions. | Check sharpness and contrast wide open; a fast f-number alone does not guarantee high light transmission. |
| 75 mm short telephoto | f/1.4 | 27.0° | Identifying details at moderate distances | Narrower view enlarges distant subjects on the image. | Reduced scene coverage makes tracking and locating subjects harder. |
| 100 mm telephoto | f/1.8 | 20.4° | Longer-range, relatively stationary subjects | Provides more subject magnification than a standard lens. | Greater sensitivity to hand movement and focus errors; support may be helpful. |
| 150 mm telephoto | f/2.8 | 13.7° | Observation across open terrain | Useful when a tighter view is more important than broad coverage. | Compared with a faster lens, f/2.8 passes less light at the same exposure conditions. |
| 200 mm telephoto | f/2.8 | 10.3° | Distant subjects in stable viewing conditions | Offers a narrow view for examining far-off details. | Atmospheric haze, motion, and small aiming errors can limit usable detail. |
| 300 mm super-telephoto | f/4 | 6.9° | Long-distance viewing from a supported position | Very narrow framing can bring distant subjects into a larger portion of the image. | Requires careful compatibility and support checks; the slower aperture can be a disadvantage in low light. |
| 500 mm super-telephoto | f/5.6 | 4.1° | Specialized, long-distance, mostly stationary observation | Provides the tightest framing in this comparison. | Very narrow field of view and relatively slow aperture make acquisition and low-light use more challenging. |
*Field-of-view figures are approximate horizontal angles calculated for a 36 mm-wide imaging area. Actual field of view will differ with the device’s sensor or intensifier format. Before buying, verify mount and flange compatibility, image-circle coverage, focus range, infrared transmission for the wavelengths used by the device, and measured transmission (T-stop), which can differ from the stated f-number.
Choosing among the 10 best night vision lenses to consider in 2026 starts with your device and intended use. A lens alone cannot turn a standard camera into a night-vision system. Check whether your camera records visible light, near-infrared light, or both. Compatibility matters.
For low-light photography, compare fast 24mm, 35mm, 50mm, and 85mm prime lenses, plus a bright wide-angle zoom and a standard zoom. These six options cover broad scenes, everyday views, and distant subjects.
A fast aperture can gather more light, but it may leave less of the scene in focus. A stabilized lens, a telephoto lens, and a close-focus macro lens round out useful choices. Each suits a different task; none is universally best.
For infrared-sensitive cameras or dedicated night-vision equipment, consider an IR-corrected lens and a sealed, durable lens design. These are the final two types to compare. Look for clear compatibility details, realistic aperture specifications, and sample images made in similar lighting. Test focus at dusk, then inspect fine details on a screen. Small focus shifts can matter. I would not trust a “works in darkness” claim without seeing the conditions behind it. Check weight and handling, too; a lens that feels manageable indoors may be awkward during a long outdoor session.
Night-vision lenses can make dim scenes easier to observe, but they do not turn darkness into daylight. Use them in a clear, familiar area, and move slowly around steps, branches, and uneven ground. Keep one hand free when possible. Avoid using night-vision equipment while driving or doing any task that needs precise distance judgment. A narrow field of view can hide nearby obstacles. Small details matter.
Check the device instructions before use, especially regarding bright light. Many intensifier systems can be harmed by direct, intense light, so keep them capped when not needed and never point them at the sun or lasers. Some models are designed for daytime use; others are not. Do not assume. If your eyes feel strained, take a break and let them readjust naturally.
Dust can scratch a lens. Use a clean air blower first, then a lens-safe cloth with gentle pressure; avoid paper towels and household cleaners. Store the equipment dry, capped, and protected from knocks. After moving from cold air into a warm room, allow it to acclimate before wiping away condensation. Fog, rain, and dense foliage still reduce visibility, while infrared illumination cannot reveal color or remove hidden hazards. It is easy to overestimate what a bright image tells you.